
DIY: Homemade Postcard Ideas

Writing Lab Challenge: Write a Christmas Story
November 19, 2020
Customize Your Christmas Cards with Super Simple Lettering
December 10, 2020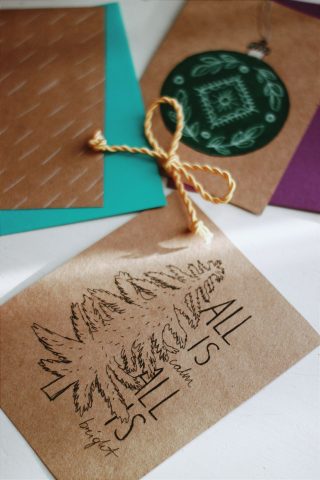
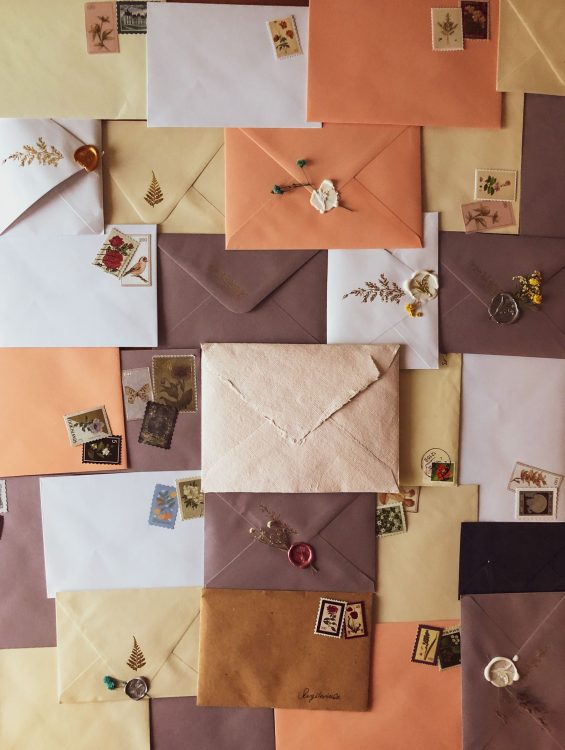
Why not make your own postcards this season? Homemade postcards are ideal for fun, personalized messages to friends, seasonal wishes to your nearest and dearest, or even a bespoke approach to business communications.
What you’ll need:
- Cardstock (ideally white or another pale color so you can write the address on clearly)
- Decorations of your choice (more details below)
Important rules you’ll need to follow:
You’ll need to cut your cardstock to rectangles of around 4” by 6”. The dimensions of an international standard postcard are A6 size, i.e. 148 x 105 mm (or 5.8 x 4.1 inches).
The Universal Postal Union (UPU) has defined postcards as having the following maximum and minimum sizes:
Maximum size
235 mm length x 120 mm width OR 9.25 inches x 4.72 inches
Minimum size
140 mm length x 90 mm width OR 5.51 inches x 3.54 inches
Your postcard also needs to be made from a good quality cardstock. The UPU specifies that postcards be sufficiently stiff as to “withstand processing without difficulties”.
If you want to translate this advice into a specific weight of paper, anything between 170gsm and 300gsm should be suitable. You can find a few good options on the market, like Navigator Paper Bold Design or Navigator Paper Hard Cover. Whatever your choice will be, the important thing to keep in mind is to have a good quality paper, with high levels of whiteness and opacity. This way you will get a top-notch quality “made with love” postcard.
Decoration ideas:
Once you’ve drawn a vertical line down the back of your postcard and a few horizontal lines from about halfway down the right-hand side of this line (on which to write the address) you’re free to decorate the front of your postcard however you desire.
Here are a few ideas to inspire you.
Add a photo
Standard printed photos are 15 cm by 10 cm (6” by 4”) – making them ideal for sticking to your postcard cardstock. Use a good quality glue in order to ensure the photo is fully stuck to your cardstock – you don’t want it falling off and going missing in the post!
Handwrite a message
Felt-tips and sharpies are great for decorating your postcard. However, their inks are liable to run when wet – not good if your card is being delivered on a wet and rainy day. Add a layer of Modge-podge or clear varnish over the top to ensure your design stays in place.
Create a collage
Cutting out magazine and newspaper images and text is a cheap way to decorate your card and give your old reading materials a second life. Just remember to use good quality glue! Or you could add a layer of clear book-covering film if you want to be super sure your design will stay put.
Washi tape
Washi tape is perfect for adding to your cardstock for a pretty, homemade postcard effect. And it’s super easy to use too. There are some beautiful designs to choose from, and you can add on further customizations such as hand-drawn detailing or stick-on jewels or rhinestones.
Printing blocks and stamping
Stamps are another way to achieve a great look without too much effort. Invest in a few inks, metallic powders and some wooden stamping blocks and you can produce some great looking postcards very quickly. Add hand detailing for further personalization and customization.
What’s next? All you need to do next is add a message, write on the correct address, stick on a postal stamp and drop it in a postbox so your perfect homemade surprise can be delivered to its recipient!

