
DIY: How to Make Your Own Notebook

How We Made It Through COVID-19
December 17, 2020
Writing Lab: Offer Your Kids a Story
December 23, 2020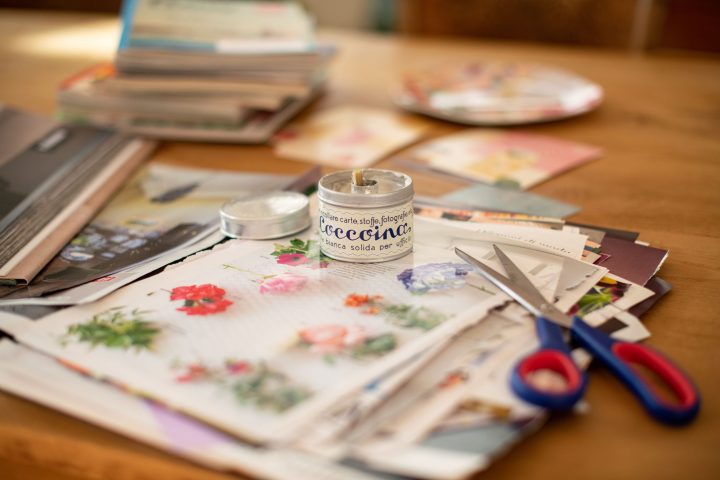
DIY notebooks make excellent gifts and offer endless opportunities for customisation. Here’s our guide to how to make your own notebook.
Making a handmade notebook is easier than you might think.
Step 1: Paper
You’ll need to gather together some A4 printer paper (look for Navigator Paper Universal or similar) and 2 pieces of A5 card stock.
Fold your A4 paper in half and press down firmly to ensure a crisp crease in your papers.
Step 2: Binding
The tricky part of DIY notebook making is the binding. How you do the binding will determine what other tools and materials you need.
The easiest way to bind your notebook is by using a hole punch and some short lengths of ribbon. Use the hole punch to make holes through your paper and the two pieces of card stock. Then tie each hole with a length of ribbon.
Alternatively, you can use one long length of ribbon or yarn and weave it in and out through all of the holes to create your binding. This binding method is super easy so it is a good kid-friendly option.
For a more refined finish, you can sew your binding. This method requires and awl or bradawl which you use to punch neat holes along the centre crease of your papers. You can then use waxed cotton thread to sew through these holes and bind your notebook together.
The more holes you make, the more elegant the finish, but the more sewing you’ll have to do. It’s probably better to start with fewer holes as you practice, building up to more holes as you gain confidence. Creativity Prompt suggests you can achieve a great look with as few as three holes, but the more polished finish you want, the more holes you should make.
More holes will mean smaller stiches. And this will look neater and help to make the binding more secure. If you’re intending to give your DIY notebook as a gift, a minimum of seven stiches is probably advisable for an elegant finish.
Make sure the holes are evenly spaced from the centre hole on each side. Thread a strong sewing needle with cotton thread and, leaving a good length of cotton hanging at the start, sew through the holes from one end to the other and then back again. Assuming you’ve made an odd number of holes, you should have stiches along each side of the spine of your notebook. Tie off the ends and trim the thread.
Step 3: Decorate
Now all that’s left for you to do is to decorate the cover. You can add fabric, rhinestones, a paper collage – whatever you fancy. The Curious Creator recommends using spray glue rather than PVA to attach any paper decorations to your cover in order to avoid any wrinkling.
Step 4: Secure
Cat Davison in the Guardian suggests adding a hardback cover to your notebook, using a fabric strip to bind the spine. You’ll need to trim the cardstock so that some of the paper along the spine is exposed on the front and the back. Cut a fabric spine the same height as your notebook and then glue into place.
If fabric sounds a little difficult, then the other option is to use duct tape to cover the spine and join the two hardback covers together. There are lots of colourful duct tapes available for crafting purposes from which to choose.
This is a fabulous crafting project which can yield some creative and elegant notebooks with a bit of practice. It’s great for original homemade gifting ideas or simply for treating yourself to a new notebook. And you don’t need much more than a few sheets of printer paper to give it a go? Happy crafting!

